New Sandtrooper Belt Pouches
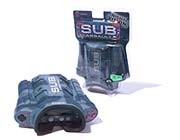
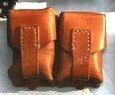
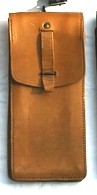
Anyway . . . here are 2 VERY small pics of the pouches before they were dyed from picture Luke sent me, and one before pic of the back side of the smaller pouch:
I used this dye, from Tandy Leather . . . USMC Black. Make sure you wear latex gloves when applying and working with this dye, as it will dye EVERYTHING and ANYTHING it touches :
 I dyed them on the tailgate of my truck while my daughter was in her dance class. I figured I had an hour to kill, it might as well be killed doing this!
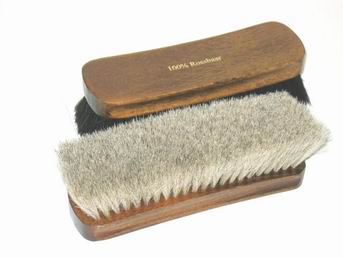
Luke had said that they would take a long time to dry, and I knew I had a short amount of time to work with, not only for dying them, but also for using them on Friday at the Spring Carnival, so after wiping on the dye and letting it sit for about 10 minutes, I lightly buffed the polish with a soft rag and then with a shoe-shining brush like this:
 After the light buffing, I applied a generous layer of black Kiwi shoe polish from a container like this:
 I knew this would put on not only more black color, but a waxy coating that would seal the dye in from the outside, allowing it to soak in and dry in the leather. Not only did it seal everything, it dyed the rough inside leather VERY easily as it is very foamy and watery when applied through the sponge top. After letting this sit for about 10-15 minutes, I buffed them again with the shoe-polish brush.
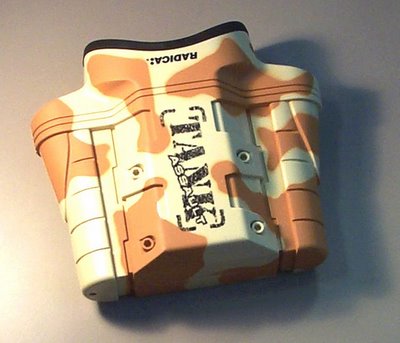
Here is how they looked after they were buffed last night before the belt loop mods:
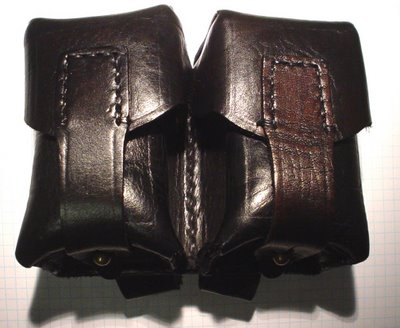 This small pouch took the leather VERY well everywhere except the right closure strap. I'm not sure if it was sealed or somehow had oil on it or some kind of leather protectant. It took the dye OK, but not as dark as the left side.
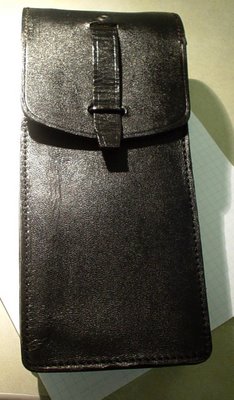
The large pouch had an entirely different finish to it altogether. It seemed to have already been dyed it's lighter color and sealed somehow with a hard finish on the outside. The dye stuck after several applications, and then once dried, the wax coat sealed it all in nicely.
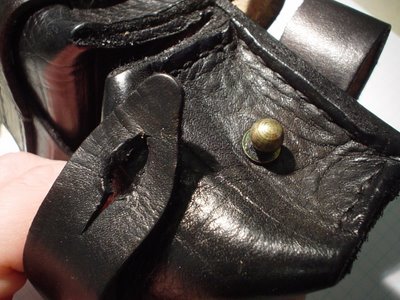
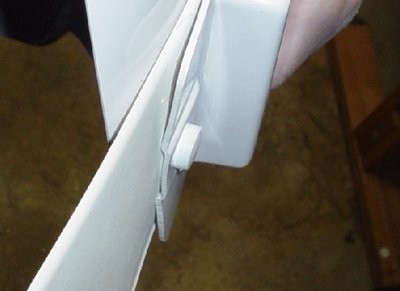
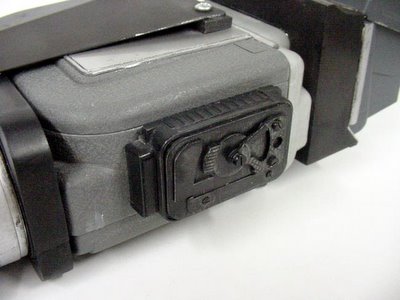
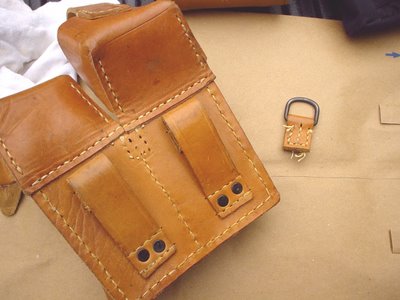
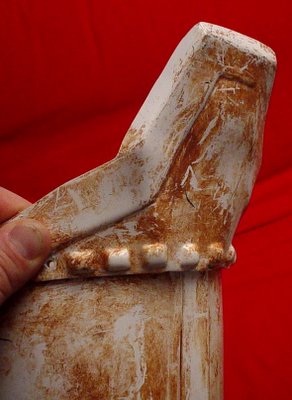
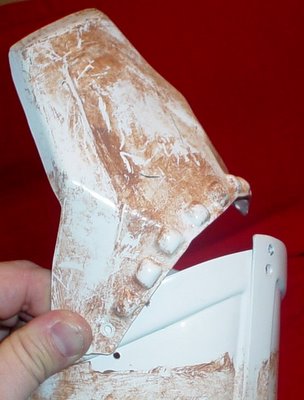
Then, I needed to modify the rear belt loop to make it large enough to slip over my trooper belt. For the small pouch, I cut each existing loop (see before picture above) with a razor blade . . . down low enough so they would give the illusion of wrapping over and behind my trooper belt, and leaving enough of a small tab above the lower rivet to allow me to rivet my new section of thick belt leather in place. Check it out, the top of the pouch is on the left:

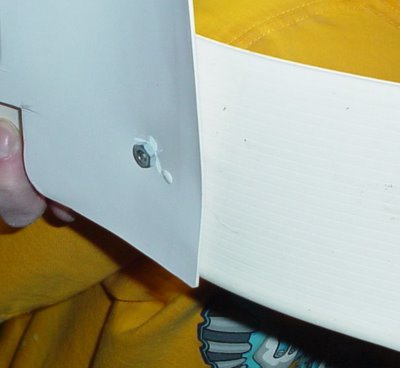
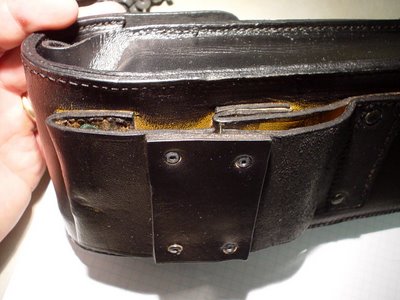
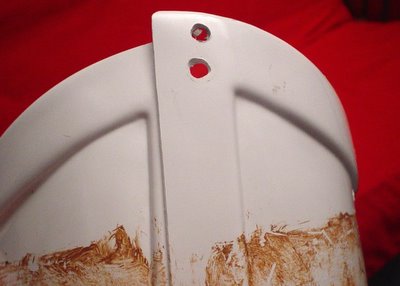
The process for the large pouch was similar, although different. It had 3 small belt loops, one on top of the other. So I sliced through the lowest loop as far down as possible before the original rivets and folded it back and up. I sliced through the top loop underneath where it attached to the pouch and folded it out. They both met perfectly, but had no overlap, so I cut and riveted a bridge piece of belt leather in place to join them. The middle loop can be seen behind this new piece, still intact.
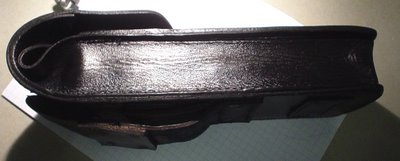
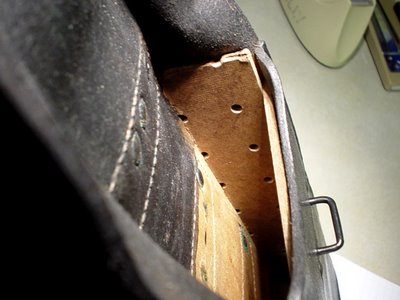
The large pouch was a bit collapsed for my liking, so I cut several small strips of masonite pegboard (thin scrap stuff I had lying around in my shop) to fit the thickness of the pouch, and inserted one down each side, one across the bottom, and a cross brace across the inside front face of the pouch (below visibility eyeline from the outside) as seen here:
And that was it! Now I just have to wait for them to dry fully, and reapply black shoe polish as needed.
posted by Shadow Walker at 6:18 AM
0 comments
![]()


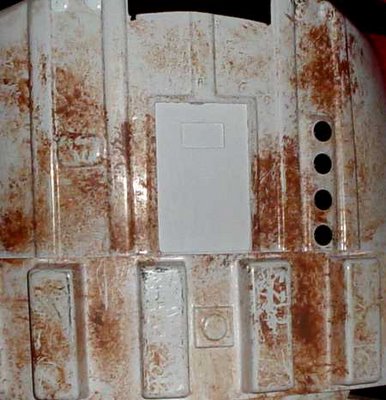
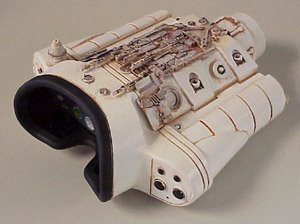
 Then I primed the inside and followed with several coats of Ultra Flat Black.
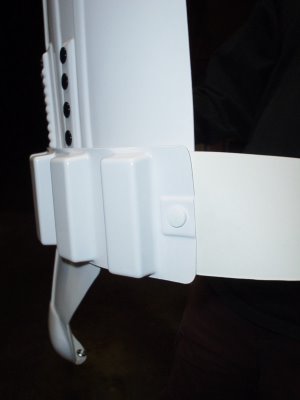
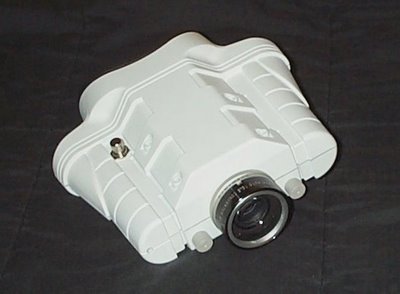
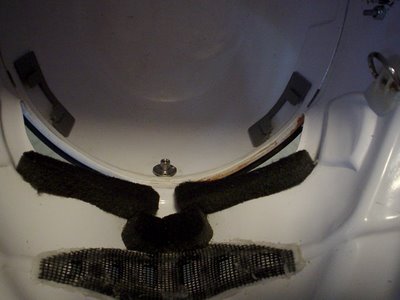
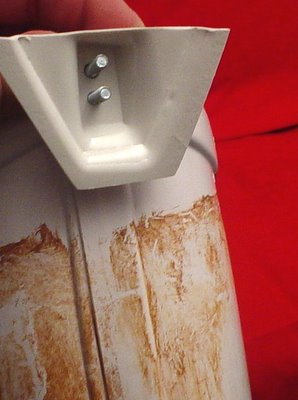
 And here is what the installation looks like:
 The final step will be to add industrial strength velcro to the very edges of the lens to hold it snugly in place, and prevent anyone from seeing in past it into the bucket.
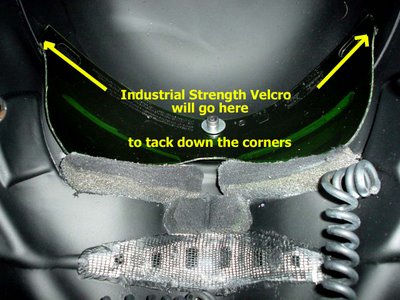
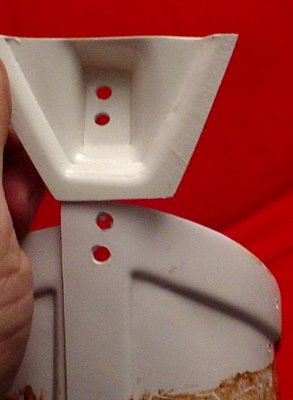
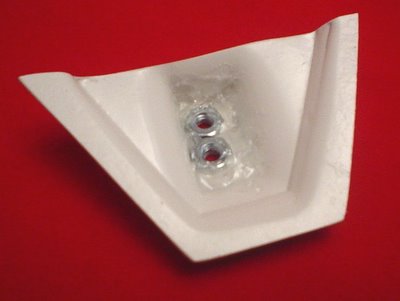
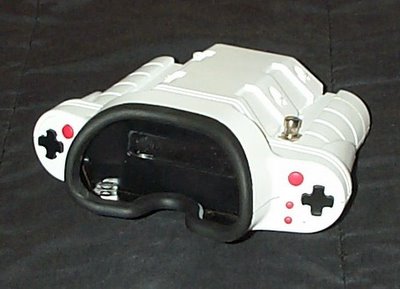
 I slipped them through the holes for a test-fit.
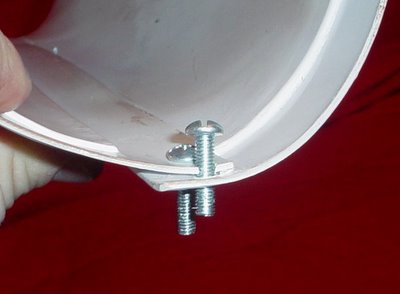
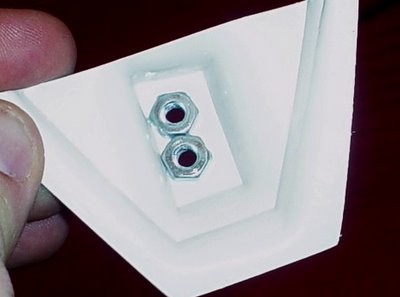
 I dropped the nuts in place to make sure there was enough room for them both.